On this page
Treat seating and storage as separate functions
A shoe bench must be explicitly designed for seating if someone will sit on it. Check its stated user load, seat height and usable width separately from the storage capacity. A padded top alone does not establish a seating rating.
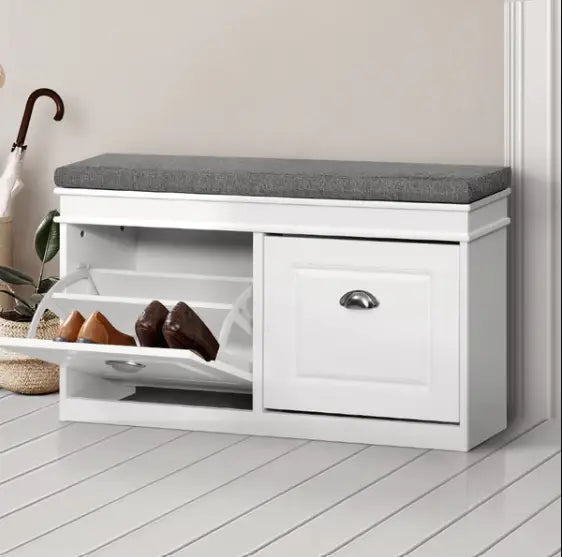
Measure the shoes
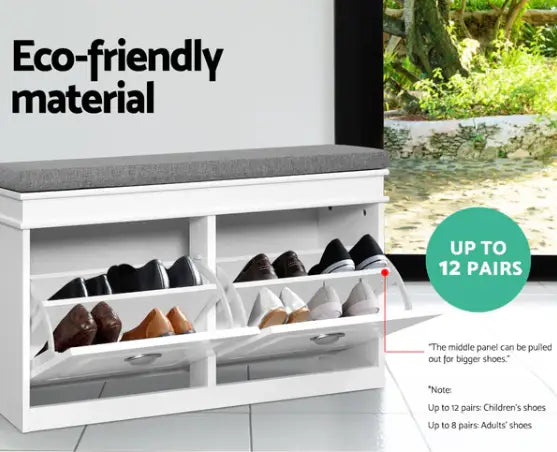
Compare the shelf or cubby dimensions with the largest footwear, including boots and heels. A nominal pair count depends on shoe size and arrangement. If baskets are included, check their clear internal size and the space needed to remove them.
Plan the entrance layout
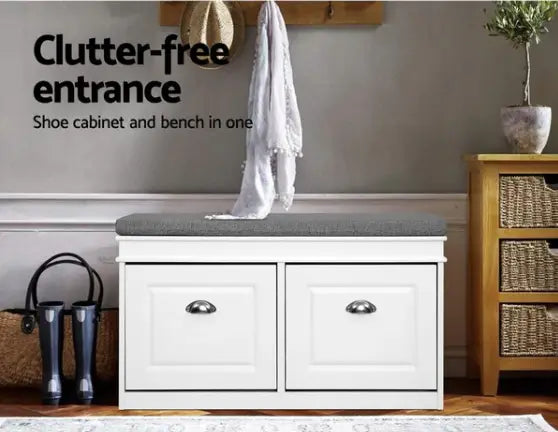
Measure the complete bench footprint and allow a person to sit, put on shoes and stand up. Open nearby doors and drawers while testing the position. Keep the main walking route clear, especially when shoes are temporarily placed beside the bench.
Check construction and care
Read the frame, seat-cover and cushion materials and the appropriate cleaning instructions. Assemble and secure the bench as directed for the exact model. Choose the combination of usable seating and storage that fits the entrance rather than assuming every shoe organiser can serve as a bench.