

I’ll be honest with you: the first time I pulled my sandwich maker out of the box, I made a mess. I didn’t preheat it, slapped two slices of bread with cheese in the middle, and ended up with half-melted goo stuck to the plates. It was enough to make me shove the thing to the back of the cupboard.
Fast forward a few months, and I gave it another shot, this time, with a bit more patience. And guess what? It actually became one of my most-used kitchen gadgets in Australia. The same goes for the breakfast sandwich maker I bought later on (which, to be honest, looked intimidating at first). Both of these machines are simple once you know the rhythm. If you’ve been wondering how to use a sandwich maker or how to use a breakfast sandwich maker without overthinking it, let me break it down the way I wish someone had for me.
 .
.
Using a Regular Sandwich Maker:
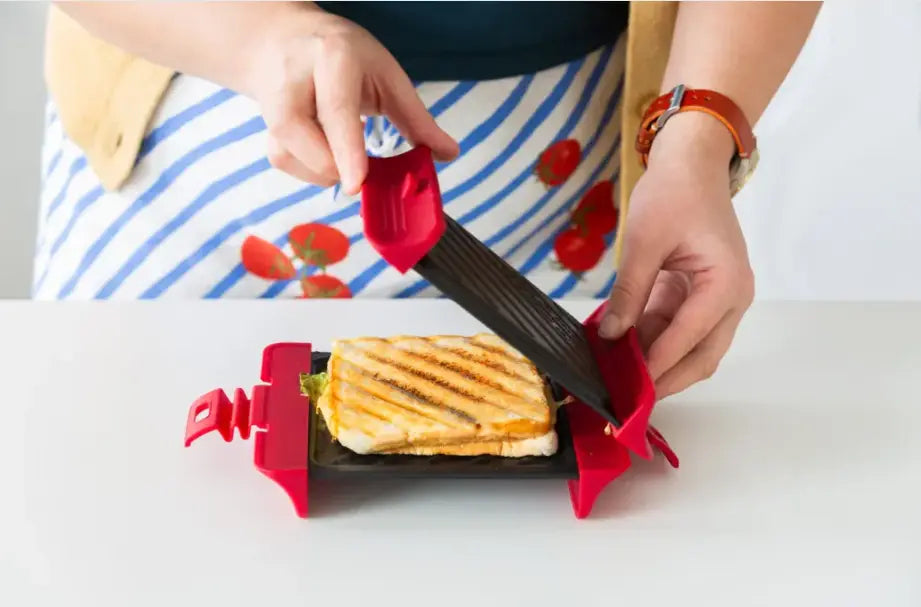
Think of this one as the classic toastie press. Two heated plates, a clamshell design, you close the lid and let it work. Simple, but there are a few small things that make the difference between a sad, soggy toastie and a golden, crispy one.
Always preheat. This is the step everyone skips the first time. Plug it in, close the lid, and give it a couple of minutes. If your model has a little green or red light, wait for it to tell you it’s hot. Without preheating, the bread just steams instead of toasting.
Butter or oil the outside. A thin layer is all you need. It keeps the bread from sticking and gives you that crunch. Don’t drown it, though; too much fat makes it greasy. Olive oil spray works if you want something lighter.
Be sensible with fillings. I once stuffed mine with so much cheese and leftover curry that it oozed everywhere. Lesson learned. Keep it simple: ham and cheese, tomato and mozzarella, or chicken with a little mayo. Use cooked meats only; the machine isn’t built to cook raw ones.
Cook and check. Drop your sandwich in, close gently, and wait about three to five minutes. Peek at the three-minute mark. When it’s golden on the outside and the cheese has melted, it’s ready.
Remove carefully. Use a wooden spatula or silicone tongs. Don’t dig in with a knife or fork; you’ll scratch the plates and ruin the non-stick coating.
And that’s it. Easy once you get the hang of it.
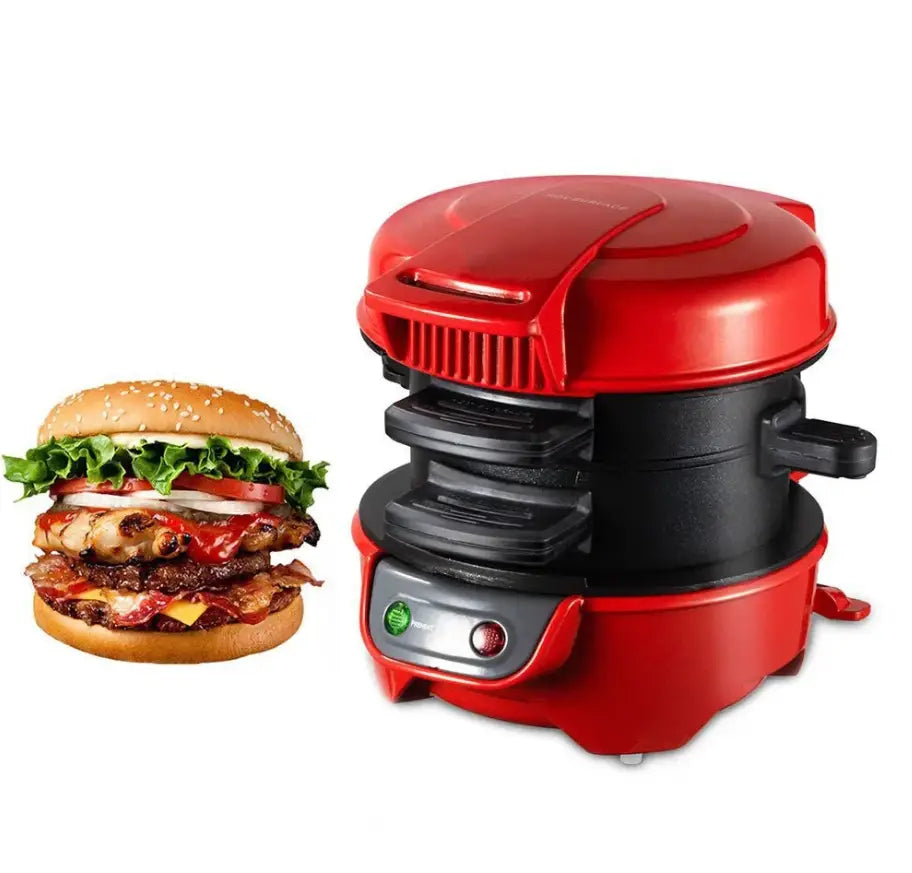
Figuring Out the Breakfast Sandwich Maker
Now this one looks a bit more “fancy,” but it’s actually straightforward once you understand how it stacks. A breakfast sandwich maker is designed for building a whole muffin-style sandwich in one go: bread, egg, cheese, the lot.
Here’s the flow:
-
Preheat it. Same rule as before. All the plates need to be hot so the egg cooks through.
-
Start with the base. Pop the bottom half of your muffin or bread on the lower plate. Add some cheese, ham, spinach, whatever you like.
-
Deal with the egg. There’s usually a little middle plate or ring just for this. Crack an egg in, sprinkle some seasoning, and let it cook.
-
Top it off. Place the other half of the muffin on the top section above the egg. Close the lid so everything’s layered neatly.
-
Let it cook together. Four to five minutes later, the egg’s set, the cheese is melty, and the bread is toasty. Most models let you slide the middle plate out so the egg drops neatly onto the rest of the sandwich.
-
Remove and eat. Carefully open up, and you’ve got a breakfast muffin that looks like it came from a café.
The first time you use one, you’ll probably stand there watching the whole process because it feels kind of magical.
Handy Tips I’ve Learned
-
Don’t overstuff. A little cheese goes a long way.
-
Mix up the bread. Sourdough, rye, bagels, or wraps each give a different vibe.
-
Go sweet sometimes. Peanut butter and banana in a regular sandwich maker is heaven.
-
Clean right away (or at least while warm). Once burnt cheese hardens, it’s game over.
Mistakes Most People Make
-
Forgetting to preheat and then wondering why the bread is soggy.
-
Trying to cook raw chicken or beef, these aren’t grills.
-
Skipping butter or oil and peeling the bread into chunks.
-
Scraping with knives, which ruins the surface.
-
Putting it away wet, mould loves that environment.
I’ve made all of these, so you don’t have to.
Why Bother With Either of Them?
Honestly? Because they make life easier.
A sandwich maker gives you a hot, filling lunch in minutes. A breakfast sandwich maker turns a regular morning into a café-style treat without the queue or the takeaway bill. For kids, they’re fun and safe. For uni students, they’re a lifesaver. For adults rushing to work, they’re just convenient.
A Few Combos Worth Trying
-
Classic toastie: Cheese and tomato in a sandwich maker.
-
Breakfast muffin: Egg, cheese, bacon, and spinach in the breakfast maker.
-
Sweet snack: Nutella and strawberries pressed into bread.
-
Veggie option: Roasted peppers and mozzarella.
-
Leftover hack: Last night’s roast chicken with BBQ sauce and cheese.
Once you get comfortable, you’ll start experimenting. Half the fun is trying odd combos and seeing what works.
Wrapping It All Up
So, if you’ve been staring at that dusty gadget wondering whether to give it another go, the answer’s yes. Learning how to use a sandwich maker isn’t about mastering some complicated process; it’s literally heat, butter, fill, press, and wait. Getting comfortable with how to use a breakfast sandwich maker just means stacking things right and letting the machine do its job.
They’re not life-changing inventions, but they do make life a little simpler. And once you see how quick and easy it is to whip up a hot snack or a full breakfast, you’ll stop thinking of these gadgets as cupboard clutter and start seeing them as everyday helpers.
So go on, pull yours out tonight. Make a toastie, make a muffin, make a mess if you have to. After a couple of tries, you’ll wonder why you left it sitting there unused for so long.