

When I first started gardening, I had no idea how much difference the right setup could make. I planted veggies straight into the ground, only to watch them battle clay soil, weeds, and poor drainage. After a few failed seasons, I realised I needed a better system. That’s when I discovered raised garden beds.
Timber looked nice, but it rots in a few years. Bricks were heavy and pricey. Then I stumbled across galvanised steel. Strong, clean, and surprisingly easy to work with, it seemed like the perfect material. So, I rolled up my sleeves and built my first steel bed. If you’re curious about how to make galvanised steel raised garden beds, here’s everything I learned, the good, the mistakes, and the little tricks that saved me hassle.
Why I Chose Galvanised Steel
Plenty of people go straight for timber because it feels familiar. I considered it too, but every gardener I spoke with mentioned termites, rot, and eventually replacing boards. I didn’t want a short-term fix.
Galvanised steel, on the other hand, ticked all my boxes:
-
It lasts. The zinc coating keeps rust at bay.
-
It looks sharp. Modern and neat in the yard.
-
It’s versatile. I could cut panels to fit the exact spot I had in mind.
-
It doesn’t attract pests. No termites, no rotting corners.
That convinced me it was worth a shot.
First Step: Planning the Bed
Before grabbing tools, I had to decide on the basics:
-
Size: I kept the width under 1.2 m. That way I could reach the centre without climbing in. Length is flexible, but I went with 2.4 m to fit neatly along my fence.
-
Height: I aimed for about 60 cm. Tall enough to save my back, but not so tall that I’d need a truckload of soil.
-
Location: Full sun was non-negotiable. Veggies thrive with at least 6 hours of direct sunlight, so I picked the brightest corner of my yard.
-
Ground check: I avoided a low spot where water tended to pool after rain.
What You’ll Need to Build One
Here’s what I used (and yes, gloves are essential):
-
Galvanised steel sheets (cut to size).
-
Steel angle bars for corners.
-
Galvanised screws and bolts.
-
Drill/driver.
-
Tin snips or an angle grinder.
-
Tape measure, marker, and spirit level.
-
Gloves, goggles, and long sleeves.
-
Cardboard or weed mat for the base.
-
A good soil and compost mix.
Optional extras:
-
Timber planks for capping the top edge.
-
Rubber edging strips.
-
A layer of gravel for extra drainage.
How to Make Galvanised Steel Raised Garden Beds: Step by Step
Step 1: Mark It Out
I used four stakes and a string to outline the space. It sounds simple, but seeing the rectangle on the ground helped me avoid a rookie mistake, building too close to a tree.
Step 2: Cutting the Steel
Cutting was the part I worried about most. The edges of steel can be sharp, so I wore gloves and goggles. For thinner panels, tin snips worked fine. For thicker steel, I borrowed an angle grinder. I cut two long pieces for the sides and two shorter ones for the ends.
Step 3: Corner Supports
To stop the panels from bowing once full of soil, I cut angle bars the same height as the sheets. These became the “bones” of each corner.
Step 4: Assembling the Frame
This part was easier with a mate. I held two panels at a right angle while he drilled through the steel and into the corner post. We worked our way around until the rectangle stood solid. For my longer bed, I added a middle support on each long side for extra strength.
Step 5: Smoothing the Edges
Steel is tough, but unforgiving on the skin. I filed down sharp corners and then capped the top with timber boards. It made the bed safer and gave me a comfy edge to lean on while planting. Rubber edging strips are another good option.
Step 6: Preparing the Base
On the ground inside the frame, I spread out flattened cardboard boxes. They block weeds while eventually breaking down. In one bed, I used a weed mat instead. If your soil drains poorly, a shallow layer of gravel underneath is a smart addition.
Step 7: Filling the Bed
I quickly learned that filling eats more soil than you expect. Instead of blowing the budget on a premium mix, I used a layered method:
-
Bottom: sticks, branches, and chunky prunings.
-
Middle: compost, old leaves, and lawn clippings.
-
Top: rich garden soil blended with compost.
It’s basically building soil lasagna, cheaper, lighter, and better for plant roots.
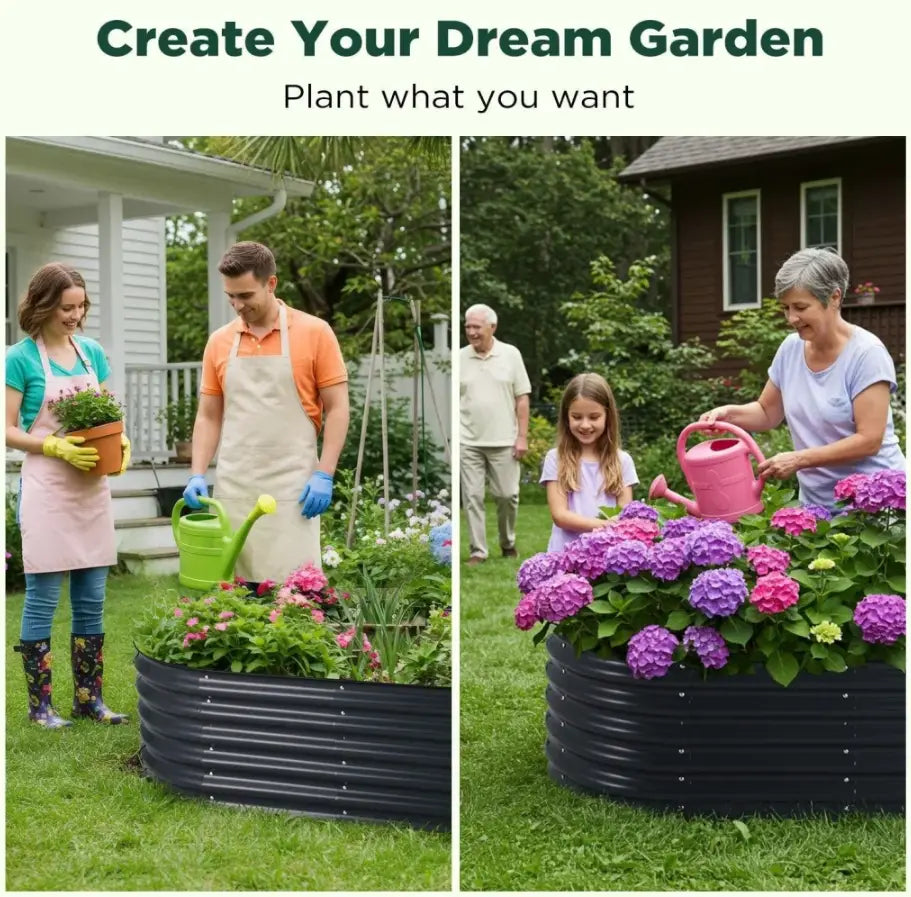
Step 8: Planting
With the bed ready, I planted tomatoes, basil, lettuce, and beans. The difference compared to planting in the ground was massive. The soil drained better, stayed warmer, and my plants took off.
Tips I Picked Up Along the Way
-
Mulch is your friend. It keeps moisture in and soil temps steady.
-
Top up yearly. Beds settle, so add compost or soil each season.
-
Check screws once a year. Just to keep everything tight.
-
Crop rotation matters. Don’t grow tomatoes in the same spot year after year.
Mistakes to Avoid When Making Steel Beds
I’ll admit, I made a few errors:
-
My first bed was too wide. I couldn’t reach the middle comfortably.
-
I skimped on gloves once. Bad idea — sharp steel cut me fast.
-
I didn’t brace the sides on a longer bed. After filling, they bulged outward. Lesson learned.
Building vs Buying
You can buy ready-made galvanised steel raised beds; stores like HomeMyGarden have plenty of options. And I’ll be honest: I’ve bought a couple myself when I didn’t have time to build. But making your own has its perks:
-
You get the exact size you want.
-
It’s often cheaper if you already own tools.
-
There’s real pride in saying, “Yep, I built that.”
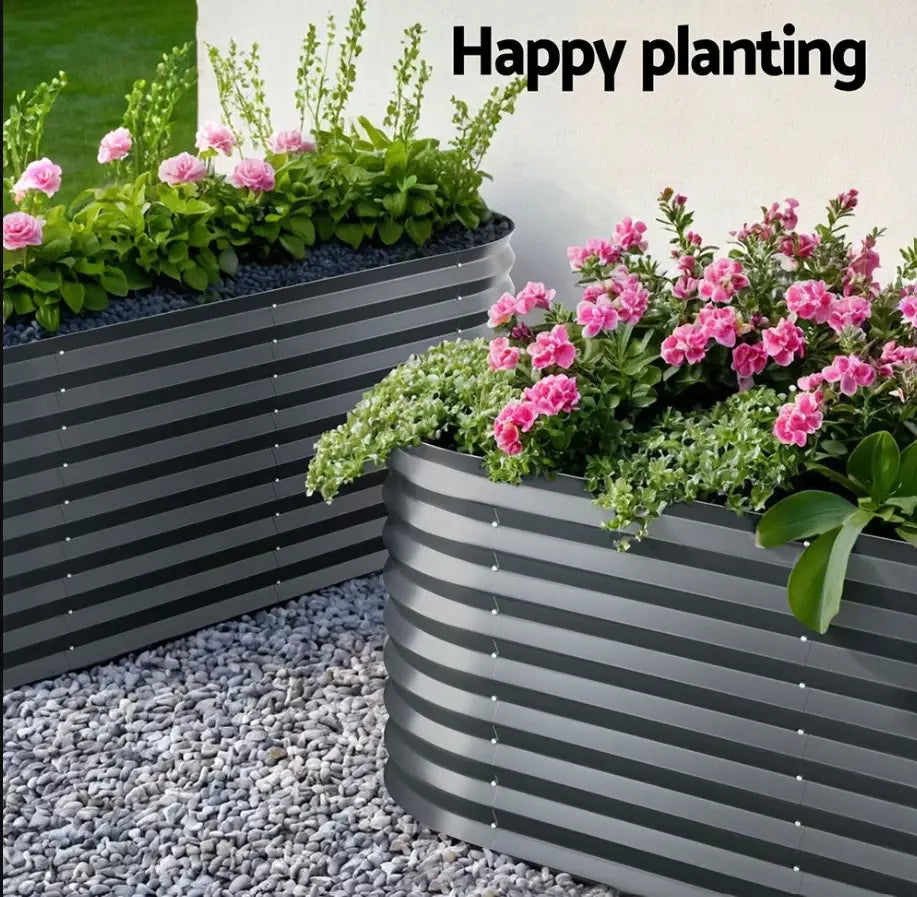
Why Galvanised Steel Raised Beds Are Worth It
After a few seasons, I can confidently say my steel beds were worth every bit of effort. They’ve held up against rain, heat, and plenty of use. Unlike timber, I don’t see signs of wear or termites. And the sleek look ties my whole garden together.
Final Thoughts on How to Make Galvanised Steel Raised Garden Beds
So, if you’re ready to improve your garden, here’s the simple roadmap:
-
Plan your spot and keep the width sensible.
-
Cut your steel panels carefully.
-
Use strong corner supports.
-
Assemble the frame securely.
-
Make the edges safe.
-
Prepare the ground with a cardboard or a mat.
-
Fill in layers of organic matter and soil.
-
Plant and enjoy the results.
Learning how to make galvanised steel raised garden beds isn’t complicated once you know the steps. Whether you DIY or buy a pre-made one from HomeMyGarden, you’ll end up with a garden bed that lasts, looks tidy, and makes growing food easier than ever.
For me, the best part was standing back at the end of the day, wiping sweat off my forehead, and seeing a brand-new bed ready to bring life into the garden. Weeks later, those first tomatoes made all the work worth it